Hello
all :)
This
Christmas, I decided to go ahead and treat myself to something I've been
interested in buying for a while now. I work in retail and a lot of the ladies
who work there are big users of Shellac and rate it highly. I'd say I'm quite
lazy when it comes to painting my nails, not that I don't appreciate having
lovely nails because I think there is nothing better than having a beautifully
manicured set of nails, but because I really find it disappointing to spend
time painting them for them to chip several hours later!
So,
I decided to buy myself a home Shellac kit from eBay. The kit consists of: a UV
nail dryer and a Shellac base, colour and top coat. I also purchased a red
glitter powder to add to the colour (but in the end chickened out using it
since being a Shellac virgin!) and also I used a cuticle stick - this is to
push cuticles back pre-Shellac application to ensure a clean nail when
applying.
For
the UV nail dryer and the Shellac polishes the price came to just under £30
including postage which I think is pretty decent considering a Shellac nail
salon treatment will cost you in region of £15-£20.
So,
here's what I did for my application:
I
initially made sure my nails were polish, dirt and oil free by cleaning with a
nail polish remover and with the cuticle pusher pushed back any cuticles for a
clean nail. I then repeated a clean with the remover. I then applied one coat
of the base coat to one hand ensuring the coat was thin and even. This is then
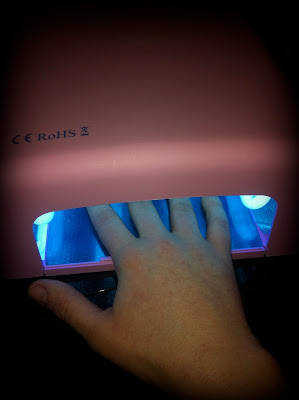
where the UV nail dryer comes into play...
You
then 'cure' the nails in the dryer for 10 seconds - the thumb has to be cured
separately as it's just not practical to put your whole hand in! Once cured I
repeated same procedure on the other hand.
Then
went on the first layer of colour - two coats of colour is needed (just the way
you would normally paint nails) and this time the nails are cured for 2
minutes.
Second
coat of colour applied and cured.
AND
FINALLY the top coat to protect colour and give a beautiful shine and this layer
is cured for 2 minutes also then...
Da-da!
For
a first time application I am pretty happy with the results, it's simple to do
and takes around 30 minutes from start to finish. And best bit is there is NO
DRYING TIME hoorah! Hopefully this should last up to two weeks but I shall keep
you posted.
Thanks
for reading!
Sarah
x


No comments:
Post a Comment